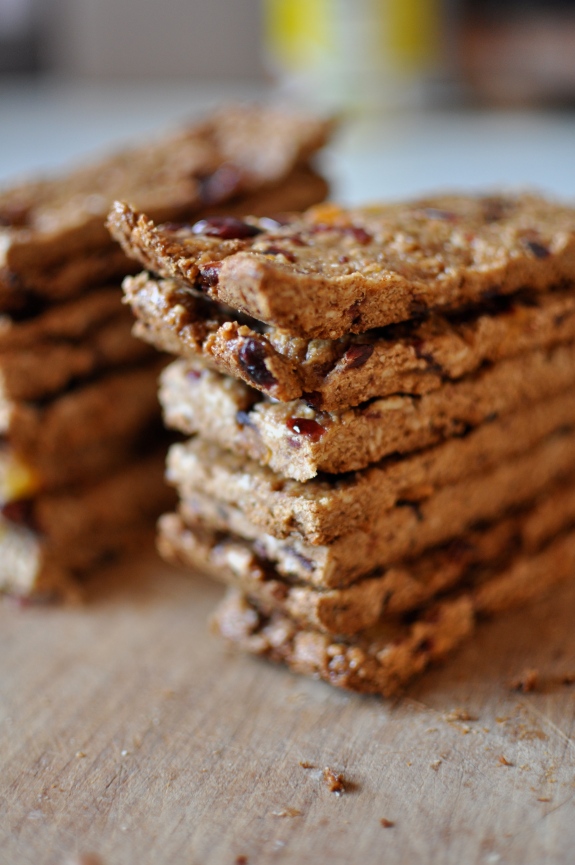
Several months ago, I took one of Clare Barboza’s food photography classes. Since I got my first camera in 2006 or so I have taken several photo classes all of which were boring and lacked new information. I gave up for a while and began learning from my own errors. I then found this when it was on Rue La La this summer and thought it would be something new to try. It was the most amazing class I have ever taken. I learned so much and came away with hopes of someday being a food photographer like Clare. Since then I have baked lots, and gone and found wood to photograph on in barns but have yet to try anything like I did in the class. Here are some of my favorite photos. I am so excited that I get to take another class from Clare in the spring thanks to a wonderful Christmas present from my parents!


Natural Light Food Photography Class
Wenesday Motivation
In my attempt to blog more, which failed over the weekend, I thought it would be fun to post a few of my favorite things each Wednesday, to help everyone make it over the “hump day”. Wednesdays always seem so long, I have 3 more days of school, and normally Wednesday, Thursday, and Friday are the worst. Why not share some inspirations?
This video. Stunning.
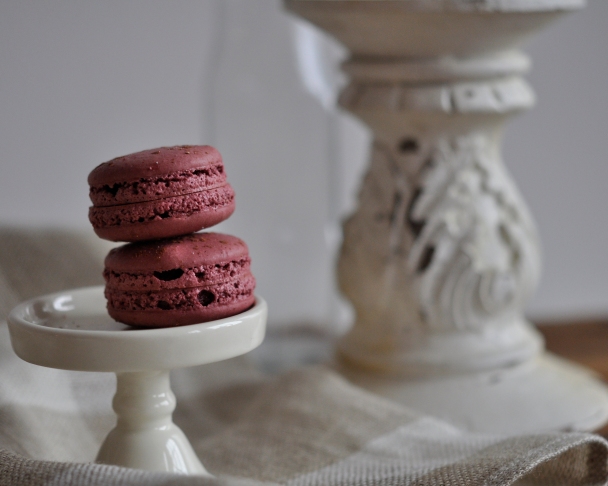
This book. Must make macaroons now!
Oh, and the thought that it should start snowing in the next few weeks!
Whats inspiring you this week?
More to come
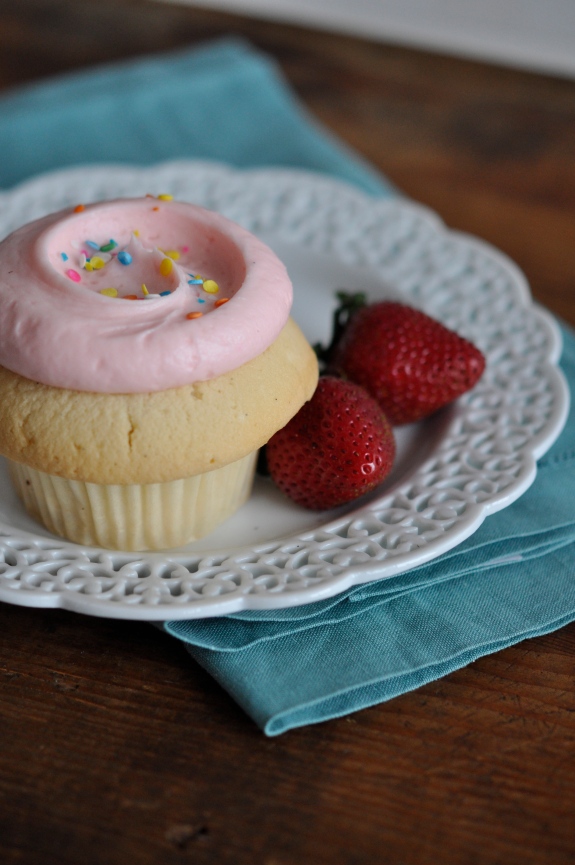
I have been such a terrible blogger lately, and I feel so bad about it! The good news is I have decided that I am going to actually start blogging a lot more because to get to my dream this will put me one step closer. In the past few months I have found out a lot about myself and photography. This is my passion that I want to pursue in life. I can no longer ignore that fact. It is what makes me whole. I had to go without my camera for 5 weeks–more on that later– and the entire time was incredibly painful and something just didn’t feel right. I have it back now and am more than ready to share my photographic adventures with the world. I’ll blog more later, but for now here is a photo I took at the most amazing food photography class I attended.
I’m Back
I know this is hard to believe but its true. I have been off traveling and am finally in front of my computer again. I was in Fiji for two weeks exploring and doing community service. It was incredible and I have lots of pictures and memories to share from that experience. I learned a lot about myself and traveling from this and I hope to share some of these things soon! In the meantime i have been thinking about my blog… I am wanting to have it designed. I need your help thinking of who I should have design it. I want a simple design that will allow for large pictures. I am hoping to not spend a whole lot on this so let me know which designer would be best for this. The second thing I need help with is the name. It’s definatley going to change. I have a few ideas in my head.
1.) The Whisk
2.) Just Jessica
3.) Generations in the Kitchen (I would get my mom to post with me)
4.) or any other suggestions you have
Thanks for letting me know what you think about these two things!
Summer, Friends, & a Ruffle Cake
School is finally out and summer is starting to emerge. The breakfasts that we eat at 10 instead of 6, and dinners at 9 instead of 6; and lunch has become an array of snacks throughout the day, not normally a sit down meal. It’s heaven. I love it to death. Sorry for the lack of posts in the last few months. I probably should have waited to start this blog but at the time it sounded like a good idea. The last few months of school were a whirlwind. Project after project then getting capped off with a hectic finals week. Thankfully, it all went well and sophomore year is behind me, never again will I take high school British lit, modern to contemporary world history, Japanese 3, Chemistry, golf, or European History. Of course I will learn lots this summer but its the best kind of learning. Self-motivated and initiated learning. I can dive into subjects that I want for once; Saturday I got to go on a Barnes & Noble run and got some books I am extremely excited about, one of them is Post War by Tony Judt. Anyway, the weather isn’t up to summer standards yet which is giving me lots of time to plan this summer, bake, find recipes, edit photos and such. Glorious. 
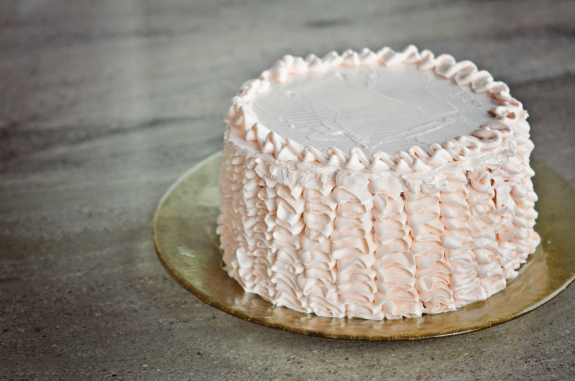
This cake I made a while ago. One of those recipes that I actually completed all the way in less than half a day. It was a little rushed but amazing nonetheless. Baking with friends is always a bonding experience that yields lots of laughs and memories. I almost always make something when I am with friends. The kitchen is always so welcoming and bright and has us laughing in no time. I am normally not a big cake maker which I am sure you will discover as I post more but after making this I think more cakes will be in my future. After walking to the store and back we started late which is never ideal when baking but it worked. The cakes didn’t have optimal time to cool or cook completely which is pretty clear when looking at the top and center of each layer but it was delicious. 
I found this recipe via Martha Stewart. I know some people want to cook through Julia Child’s books and look up to her as the master chef, but for me that is Martha. I love everything Martha does. From the time I was a child, while all my friends were watching Disney Channel and ABC family, I was watching Martha and the Food Network. I was trying to find the recipes for the lemon cake and butter cream frosting but they have disappeared. They were on her website but they have vanished. If anyone finds the recipes for these please let me know and I will add them to this post, with a link to your blog! 
This cake is so delicious. The frosting was perfect and both my friend and I dislike frosting normally but we were eating it off the beater. I made two layers due to lack of time and it worked beautifully. We made two batches of cake and one of frosting, it was just the right ratio. The cake is supposed to be a lemon cake but didn’t taste like it at all. If you want it to taste lemony add some more lemon zest, maybe triple the amount it says. It would also be delicious to have lemon curd in between the layers as well. We didn’t have enough frosting to put the ruffle design on the top, but it worked out. Our cake didn’t have enough time to cool or bake the top and sides are odd-looking. Like hollow, uncooked, gooey. Our frosting job is far from perfect, if only it could look like Martha’s but we tried and its hard. I passed this job off to my friend after I messed up the first row… Frosting is not a job in my future… 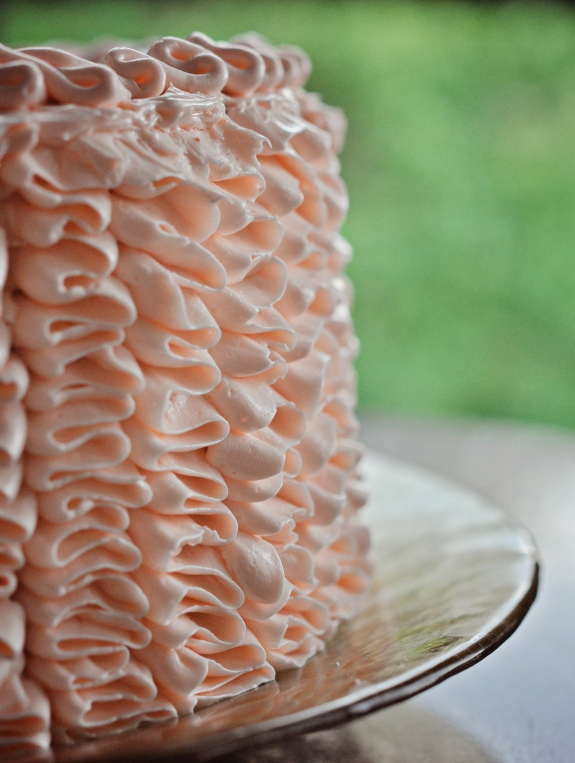
I would make this again with a friends help any day. I know it would turn out better next time with more baking, cooling, and frosting time, but for a few amateur bakers we did pretty darn well. I wish I could eat some more of this now… 
Europe!
I am at the halfway point of my trip and let me just say that I love Europe. I knew it would be an amazing trip but I had no idea I would love Europe this much. We leave Rome tomorrow and Paris we left several days ago. Paris was so elegant and classy, I loved how everything worked there. I have taken tons of pictures, in the thousands, and will post some as soon as they are uploaded on my computer, and have more time to post. This trip has made three things for sure:
1. I want to live in Europe as soon as I possibly can.
2. I want to travel a ton more.
3. I love Europe.
A Day at the Market
Pike Place Market is one of the most glorious places in Seattle, on a sunny day. It’s nice in the rain but when all the fresh flower vendors come out and the vegetables and fruits are overflowing it is stunning. On the first nice day in March my mom and I made a spontaneous trip to the market. When the sun is out everyone in Seattle is in a good mood. You would think it was 80 degrees out if you were to judge from what people are wearing.
 It can be very deceiving especially if you assume you can leave the house in a t-shirt to find it is barely 40 degrees. This is why we live in North Faces. We went with the mission of getting little bead stickers for a dinner party my parents were attending later that day. We went into this Indian store and left with what we needed plus curry leaves, a few scarves, pita, and multiple cooking sauces that would be devoured that week.
 It was a really special day that felt so quintessentially Seattle. If you ever come to Seattle, the best times of year are the middle to late spring and fall. It is just beautiful.All the rain and gray we have during the winter makes the sunny days so much nicer. Here are a few photos of my Pike Place Excursion!
 The tulips were gorgeous and just starting to open!
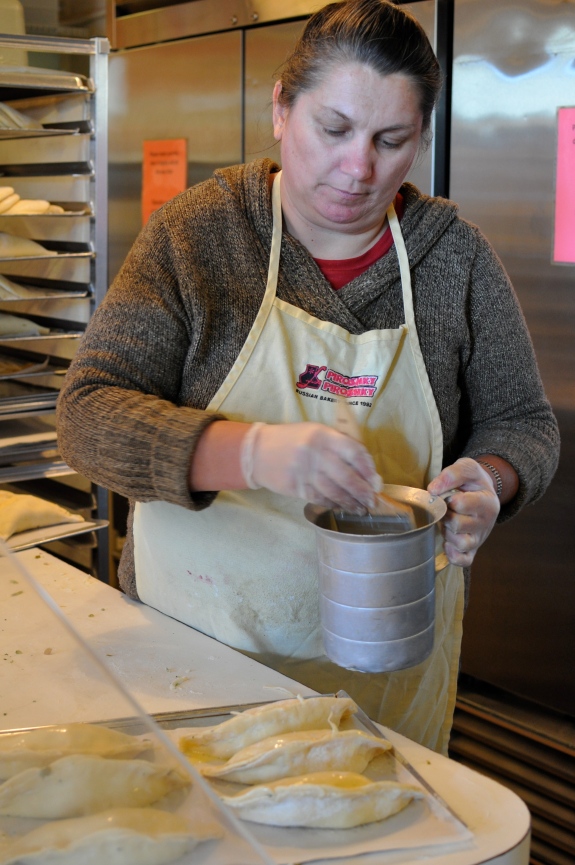
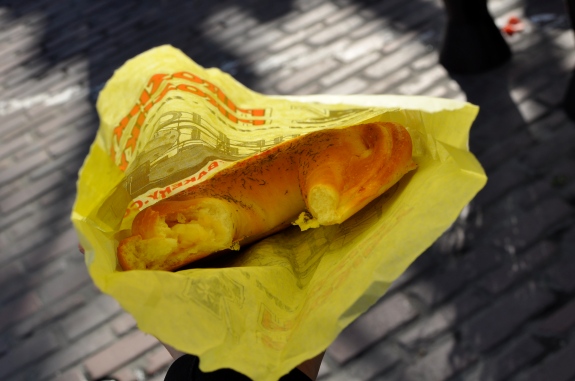
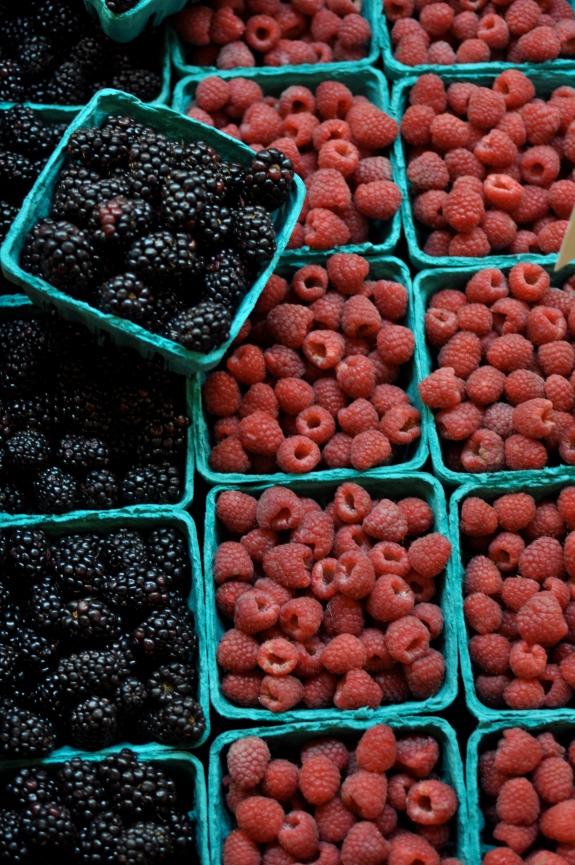 If you are ever in Seattle you must go to the piroshky store, its called Piroshky Piroshky. There always a long line but it is totally worth it. So delicious! Yummm, I wish I had one now!
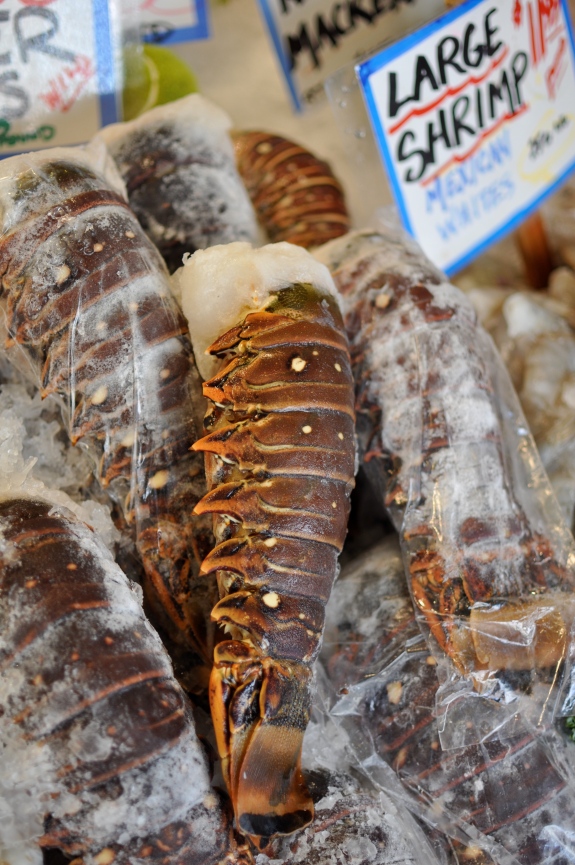
And all the seafood. I want a lobster, crab, and clams right now!
In no time the weather will be like this for several months!
P.S. I leave today for a trip to Europe with my family! I will be gone for two weeks but I would love some comments to read for when I get back! I will have tons of posts about what we saw! One of my dreams coming true!
Granola
During the last week of summer I stocked up our shelves with breakfast items for my brother and I to eat every morning at 6:25. Way to early to make something but it is always nicer to head out the door with something delicious and homemade. I had been volunteering at the local library and in my spare time and checked out a bunch of cookbooks. Two of them I later ended up buying and the Barefoot Contessa one was just because of this recipe I tried. I love it. I have made it twice now and can’t wait to make more!
These granola bars have tons of ingredients which I normally try to avoid, and they have a bunch of smaller steps but in the end they are totally worth it. You can find the recipe in he Back to the Basics book which has a ton of recipes I want to make!
Homemade Granola Bars
{The Barefoot Contessa’s Recipe}
2 cups old fashioned oatmeal
1 cup sliced almonds
1 cup shredded coconut
1/2 toasted wheat germ
3 tablespoons unsalted butter
2/3 cup honey
1/4 light brown sugar
1 1/2 teaspoons vanilla extract
1/4 teaspoon salt
1/2 chopped & pitted dates
1/2 chopped, dried apricots
1/2 dried cranberries
Preheat oven to 350 and line a 8 x 12 pan with parchment. Toast oatmeal, almonds, & coconut on a sheet pan for 15 minutes. Transfer to a medium bowl and add wheat germ. 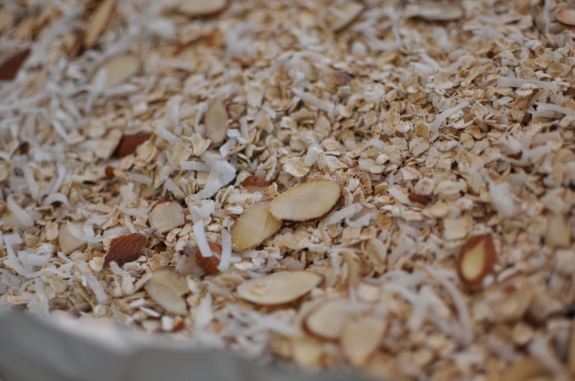 Reduce oven temperature to 300. Boil honey, butter, brown sugar, and vanilla in a sauce pan over medium heat. Poor over oatmeal mixture and combine.
  Add apricots, cranberries and dates. Stir well. Place mixture in pan spreading out evenly. Cook for 25-30 minutes until golden. Wait for several hours until cutting! Enjoy!
Unsalted Butter
Unsalted butter is ALWAYS on my families grocery list. When baking I go through pounds without even realizing. I can create a stash of 5 pounds in my freezer and before I know it, it appears on the grocery list again. I might as well just go through and write it on every grocery list from now to eternity, or have it delivered to me weekly.
Some recipes I think are just destined to be and it is often my mission to find those. This recipe would be one. I was home all alone on the snow day last Thursday and was determined to bake. I was tired of sitting on the couch and watching food network and was ready to get my hands deep in flour. I had been watching Ina Garten who is my absolute favorite make meatballs. I found one of my cookbooks and needed to bake something. I found tons of recipes and I would be missing one ingredient or the other. I did not feel like walking to the store so found a recipe I had everything for, Martha Stewart’s Shortbread Fingers are what found me. 
One of my obsessions are food blogs. I will get a list of my favorite up soon on my sidebar, but one I will share today is Baking through Martha Stewart’s Baking Handbook by Amber. This blog is like the Julie & Julia movie and book but better. I love Julia Child, but all her recipes seem so far from what I like to bake and cook. If I were ever to do that it would be with Martha Stewart. I love Martha. Everything she does is so perfect and Martha-esque. If it weren’t for Martha my mom would not be the cook she is and if it weren’t for Julia my grandma wouldn’t be the amazing cook she was. My mom followed Martha when she was a cater, and my grandma took lessons from Julia Child. Amazing, right? So when I found the shortbread fingers I was so happy. Amber told me they were her favorite so I had to try and boy were they good! I have never made shortbread before so it was a new challenge. 
The recipe is amazing and perfect. Buttery and Sugary. You must try it when you have a surplus of unsalted butter
Martha Stewart’s Shortbread Fingers
3 sticks (1 1/2 cups) unsalted butter
2 1/2 cups flour
1/4 teaspoon salt
3/4 cup + 2 table spoons confectioners’ sugar
Granulated sugar for sprinkling
Preheat oven to 325 degrees. Butter a 12-by-8 inch rimmed baking sheet with parchment paper. Whisk together flour and salt in a small bowl and set aside. In your mixers bowl beat butter until fluffy on medium speed (2 minutes), then add confectioners sugar. Add flour and beat on low speed, until just incorporated (it should be the consistency of soft cookie dough). Spread dough onto baking sheet and chill until dough is firm (15 minutes). Using a fork poke the dough all over bake rotating halfway through until golden brown, 40 minutes or so. Transfer to a wire rack, sprinkle with granulated sugar. While still hot cut with a knife to form 4-by-1 inch fingers. Cool completely then remove from pan.

Sorry for the lack of posting this week. School gets hectic but you can always count on a weekend post!
Snow Day Baking
Yesterday morning I woke up to the most glorious call at 5:30 am from our schools headmaster saying school would be closed for the day to predicted weather. Seattle was supposed to get bucket loads of snow starting at noon. Well that never happened and it starting snowing at four for an hour or two. I wish we had gotten enough snow to keep us stuck in the house forced to relax but it was nice having a day that was just freezing cold. I spent the day baking which was delightful. The first recipe I made I will share today and the second tomorrow. 
The first I made was the cover recipe on the February Bon Appetit. The more I read this magazine the more I like it but I definitely go in waves with how I feel about it. I normally refrain from buying it but the brownies on this months cover made me look twice and put it in the shopping cart on our way to the check out stand. I am so happy I finally had a chance to make these. I love cooking magazines but normally don’t bake anything from them which I am now trying to change. The recipe was for Cocoa Brownies with Browned Butter and Walnuts. Super simple recipe that only takes according to the magazine 20 minutes of prep time and 4 hours 50 minutes total time. They were pretty accurate with the times although I didn’t time myself. I was most surprised when I made these discovering that they can be made in one bowl! Always a plus when it comes time to clean up. It was almost as if this recipe was waiting for me in the pantry. There was not one ingredient that I didn’t have! I had exactly the right amount of everything. Perfect!
Cocoa Brownies with Browned Butter and Walnut
Nonstick vegetable oil spray
10 tablespoons (1 1/4 sticks) unsalted butter
1 1/4 cups sugar
3/4 cup natural unsweetened cocoa powder
1 teaspoon vanilla extract
2 large eggs, chilled
1/3 cup plus 1 tablespoon unbleached all-purpose flour
1 cup walnut pieces
Position rack in bottom third of oven, preheat to 325 degrees. line 8x8x2 inch metal pan with foil coated with non-stick spray. Melt butter in medium saucepan over medium heat. Cook butter until it stops foaming and browned bits form on the bottom of the pan, stirring every five minutes. Remove from heat and add sugar, cocoa, 2 teaspoons water, vanilla, and 1/4 teaspoon slat. Stir till combined. Let cool for five minutes then add eggs one at a time stirring until each is combined. When mixture is thick and shiny add flour and stir until combined. Beat vigorously 60 strokes (Their words not mine, but really no need to count) stir in nuts, pour into prepared pan. Bake until toothpick inserted into center comes out almost clean, about 25 minutes. Cool pan on rack completely. Cut into four strips in each direction.
These were so good! I loved the nutty taste the browned butter added and the crunch of the hazel nuts! yummy! I cooked mine in a glass pan so it took a lot longer to make them so it took me maybe an hour… Way longer and I don’t even think I cooked them all the way… These are definatley worth making super tasty!
